This post in the second of the series where I run through the process I used to create this blog and host if for free, using VS Code, Hugo, Github and Azure Static Websites.


-
Part 1 - Create a Github repository and create a local Hugo web site.
-
Part 2 - Configure the Hugo website, (This Post)
- the config,
- creating content and pages,
- configure google analytics,
- configure Disqus for comments,
-
Part 4 - Configure more advanced Hugo configuration, Coming soonish…
- configure mermaid for diagramming,
- configure Algolia for search,
- configure and create partials
- modify social links,
What you will need:
- Visual Studio code
- Frontmatter extension by Elio Struf
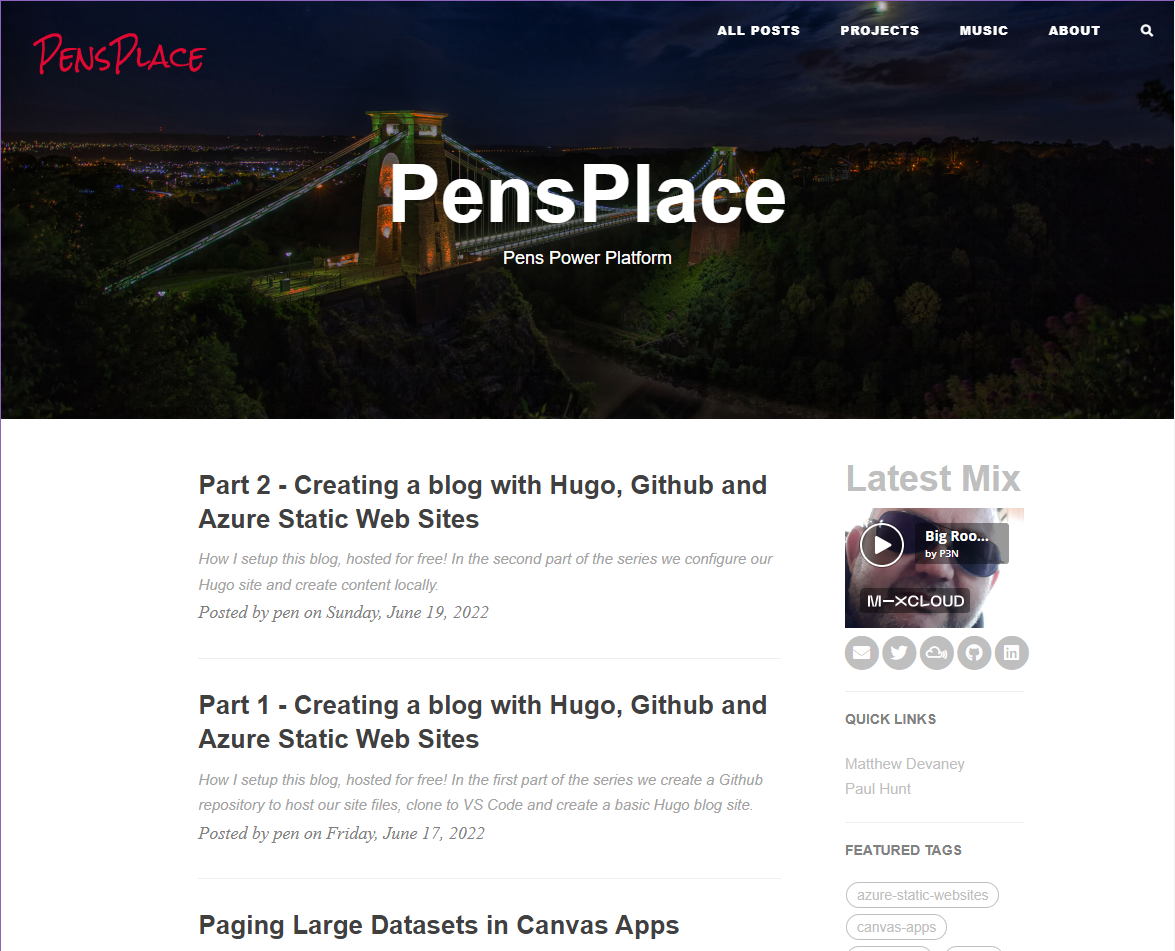
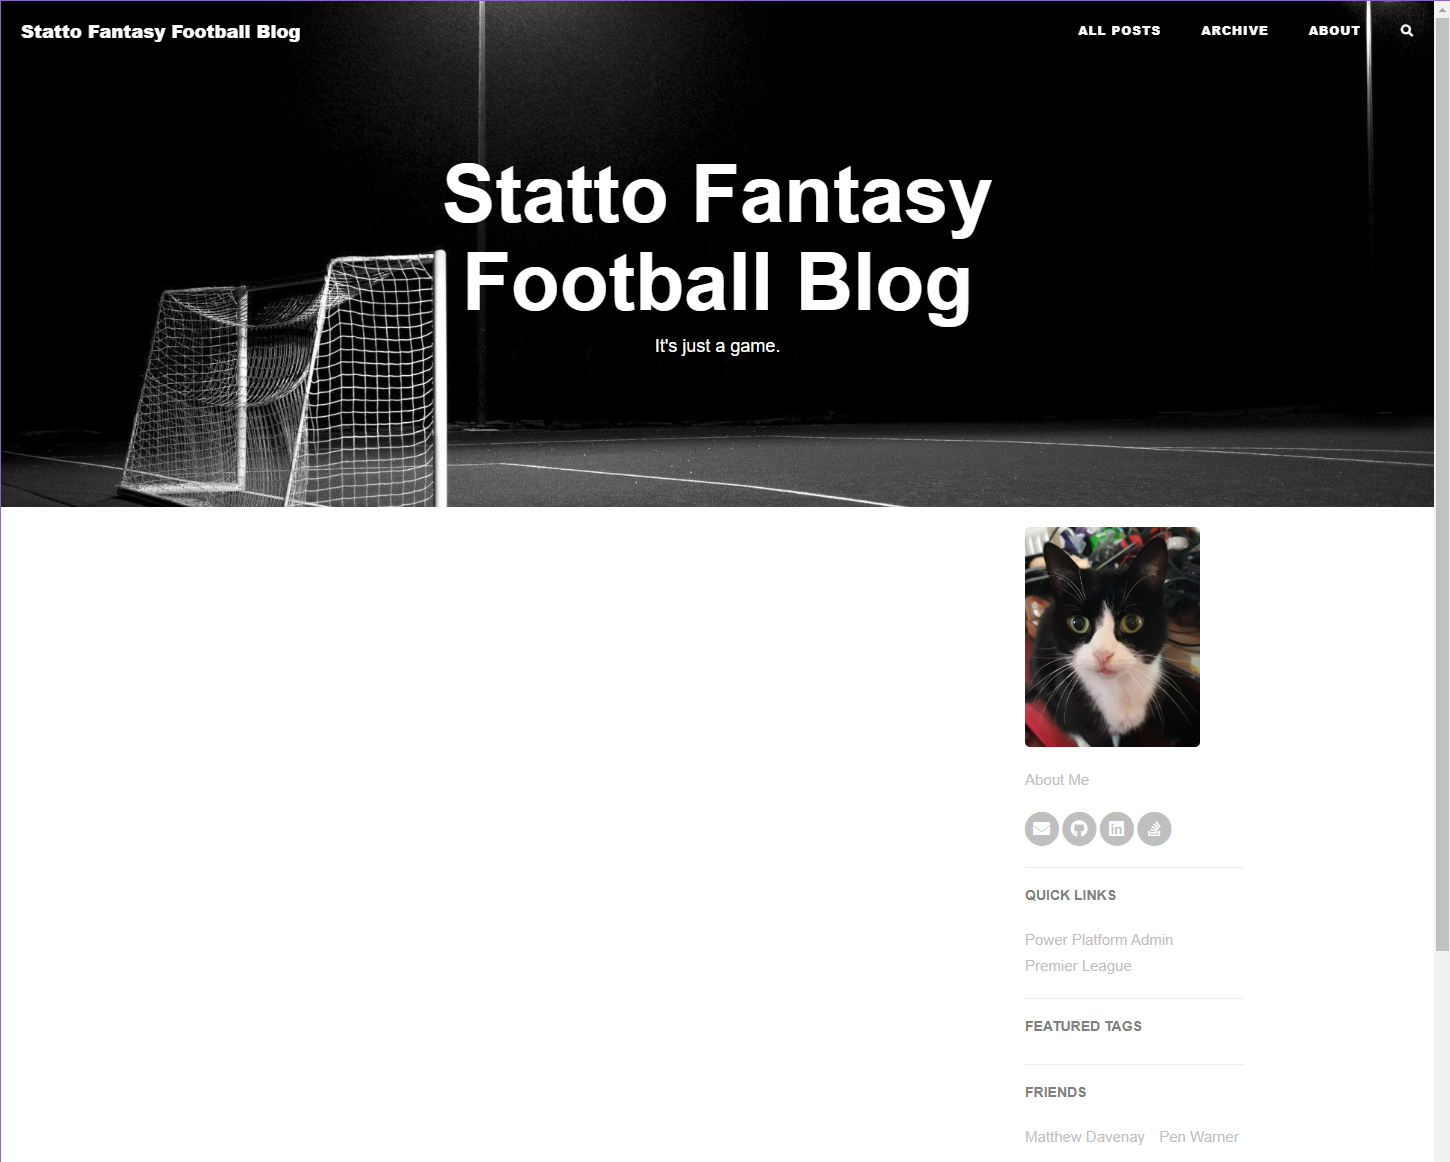
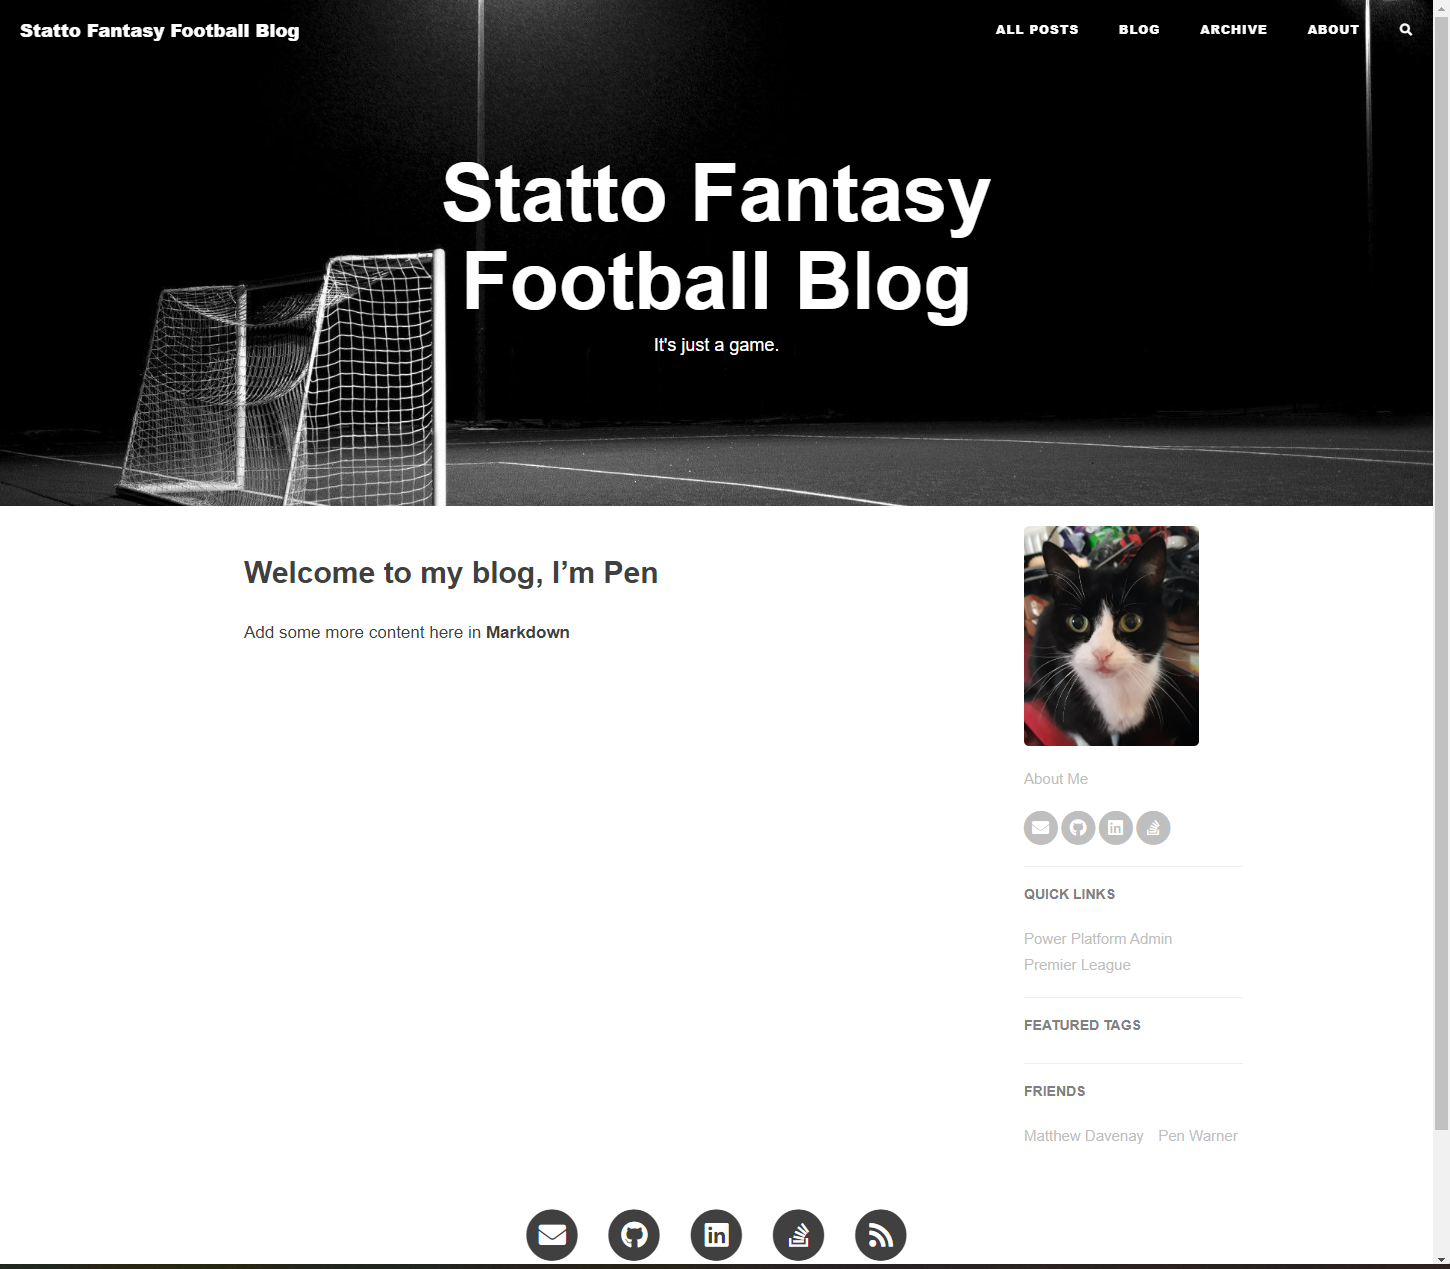
The objective of this post is to create our blog that looks somehing like this
Step 1 - Setup important folders.
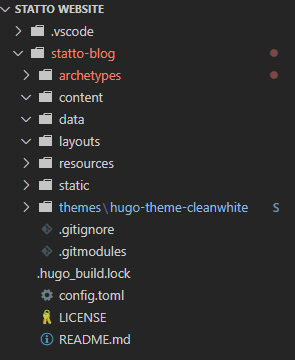
Open your website folder in VS Code, if you followed the previous post your folder structure should look as follows:
Content folder
This is where we will store our blog posts and pages.
Create the folder content in the root directory if it doesnt exist and add the following sub folders:
- post - we will store our blog posts in this folder
- top - we will create some pages that will be linked from the top menu.
Static folder
The static folder is where we store assets for the site, to get stated create a new sub-folder called img we will add our graphics to this folder. We can also store custom css and other artifacts in the static folder, and in Part 4 we will add some custom CSS.
Step 2 - Configure basic settings in the config.toml file.
Open the config.toml from the root directory, lets step through this line by line:
The baseurl is the URL you will want to readers to access your blog, we will configure the DNS for this in part 3.
baseurl = "https://statto-fantasy.pensplace.co.uk"
The title is the name of your blog, and is used in the template to display the site name.
title = "Statto Fantasy Football Blog"
Next is theme, I am using the hugo-theme-cleanwhite, if you are using a different theme add that here.
theme = "hugo-theme-cleanwhite"
The default language I have set in en-us english.
languageCode = "en-us"
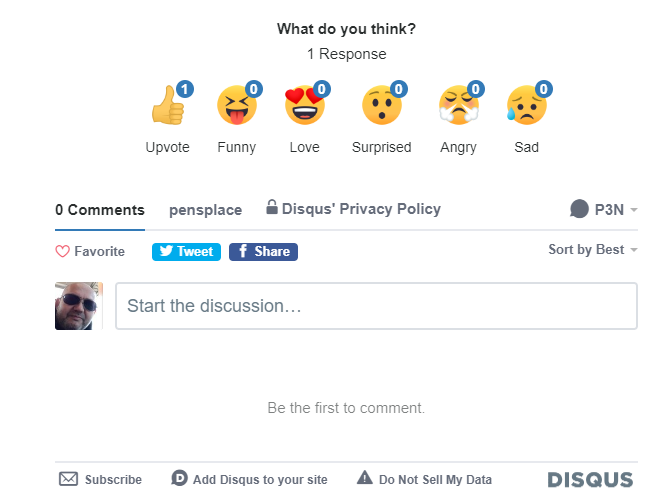
Disqus is used for comments on posts and pages, you can set a free account and you will need the disqusShortcode to add to the following line
disqusShortname = "statto-fantasy"
Disqus comments will display at the bottom of posts and pages like this:
The theme supports Google Analytics, add your “G-” tracking code here.
googleAnalytics = ""
Leave the following line as true.
preserveTaxonomyNames = true
The paginate settings sets how many articles on the home page are shown before paging is applied, I set this to 5.
paginate = 5 #frontpage pagination
If your default language is CJK format set this to true, I don’t so set it to false.
hasCJKLanguage = false
Save the file, if we run the local server now using hugo server our site should look like this:

Step 3 - Configure basic Params.
The next section of the config.toml is the outputs, leave this as it is, these are the outputs Hugo creates when compiling the site.
- The HTML output creates the sites html.
- The RSS output creates an RSS feed of your posts.
- The Algolia for search output, more about this in Part 4
[outputs]
home = ["HTML", "RSS", "Algolia"]
The next section is the [params] section, configure the following settings in the this section. We will come back to this section.
[params]
  header_image = "img/background.jpg"
  SEOTitle = "Statto Fantasy Football "
  description = "Power Platform Premier League Fantasy football game."
  keyword = ""
  slogan = "It's just a game."

  image_404 = "img/404-bg.jpg"
  title_404 = "Oh no something went wrong :("
  omit_categories = false

  # Sidebar settings if you want the sidebar to show information about you set it here
  sidebar_about_description = "About Me"
  sidebar_avatar = "img/avatar.jpg"

  # Show featured tags and how many articles needed for a tag to display
  featured_tags = true
  featured_condition_size = 3

   disqus_site =  "[disqus site name]"

   friends = true
   bookmarks = false
   about_me = true
Step 4 - Add a header image
Choose an image you would like to use as the header for your blog, and copy it to the static/img folder.
Replace the header_image filename with your image filename.
Now if you left the Hugo server running your local site will update when ever there is a save.
Step 5 - Configure [params.social] links.
 [params.social]
  rss            = true
  email          = "youremail@gmail.com"
  #facebook      = "full profile url in facebook"
  #googleplus    = "full profile url in googleplus"
  #twitter       = "full profile url in twitter"
  linkedin       = "https://www.linkedin.com/in/yourlinkedinid"
  stackoverflow  = "https://stackoverflow.com/users/yourstackoverflowid"
  #instagram     = "full profile url in instagram"
  github         = "https://github.com/yourgithub"
  #wechat         = "your wechat qr code image"
  #medium        = "full profile url in medium"
  #slack         = "full workspace url in slack"
  #pinterest     = "full profile url in pinterest"
  #reddit        = "full profile url in reddit"
  #gitlab        = "full profile url in gitlab"
  #mastodon      = "full profile url in mastodon"
  #keybase       = "full profile url in keybase"
  #xing          = "https://www.xing.com/profile/yourxingid"
  #git           = "full profile url for git user"
Add your social urls to the list, in part 4 we create a new social link for Mixcloud.
Step 6 - Configure Friend Links
Friend links show in the sidebar and are configured as follows:
 [[params.friend_link]]
  title = "Matthew Davenay"
  href =  "https://matthewdevaney.com"

  [[params.friend_link]]
  title = "Pen Warner"
  href =  "https://blog.pensplace.co.uk"
Step 7 - Configure Bookmark Links
Book Links are configured as follows:
[[params.bookmark_link]]
  title =  "Power Platform Admin"
  href =  "https://admin.powerplatform.co"
  [[params.bookmark_link]]
  title = "Premier League"
  href =  "http://premierleague.com"
Step 8 - Configure Top Menu Links
  [[params.addtional_menus]]
  title =  "BOOKS"
  href =  "/top/books/"
  [[params.addtional_menus]]
  title =  "ARCHIVE"
  href =  "/top/archive/"
  [[params.addtional_menus]]
  title =  "ABOUT"
  href =  "/top/about/"
The top menu link to pages, in our example we will delete the BOOKs menu item, and will create content pages for archive and about.
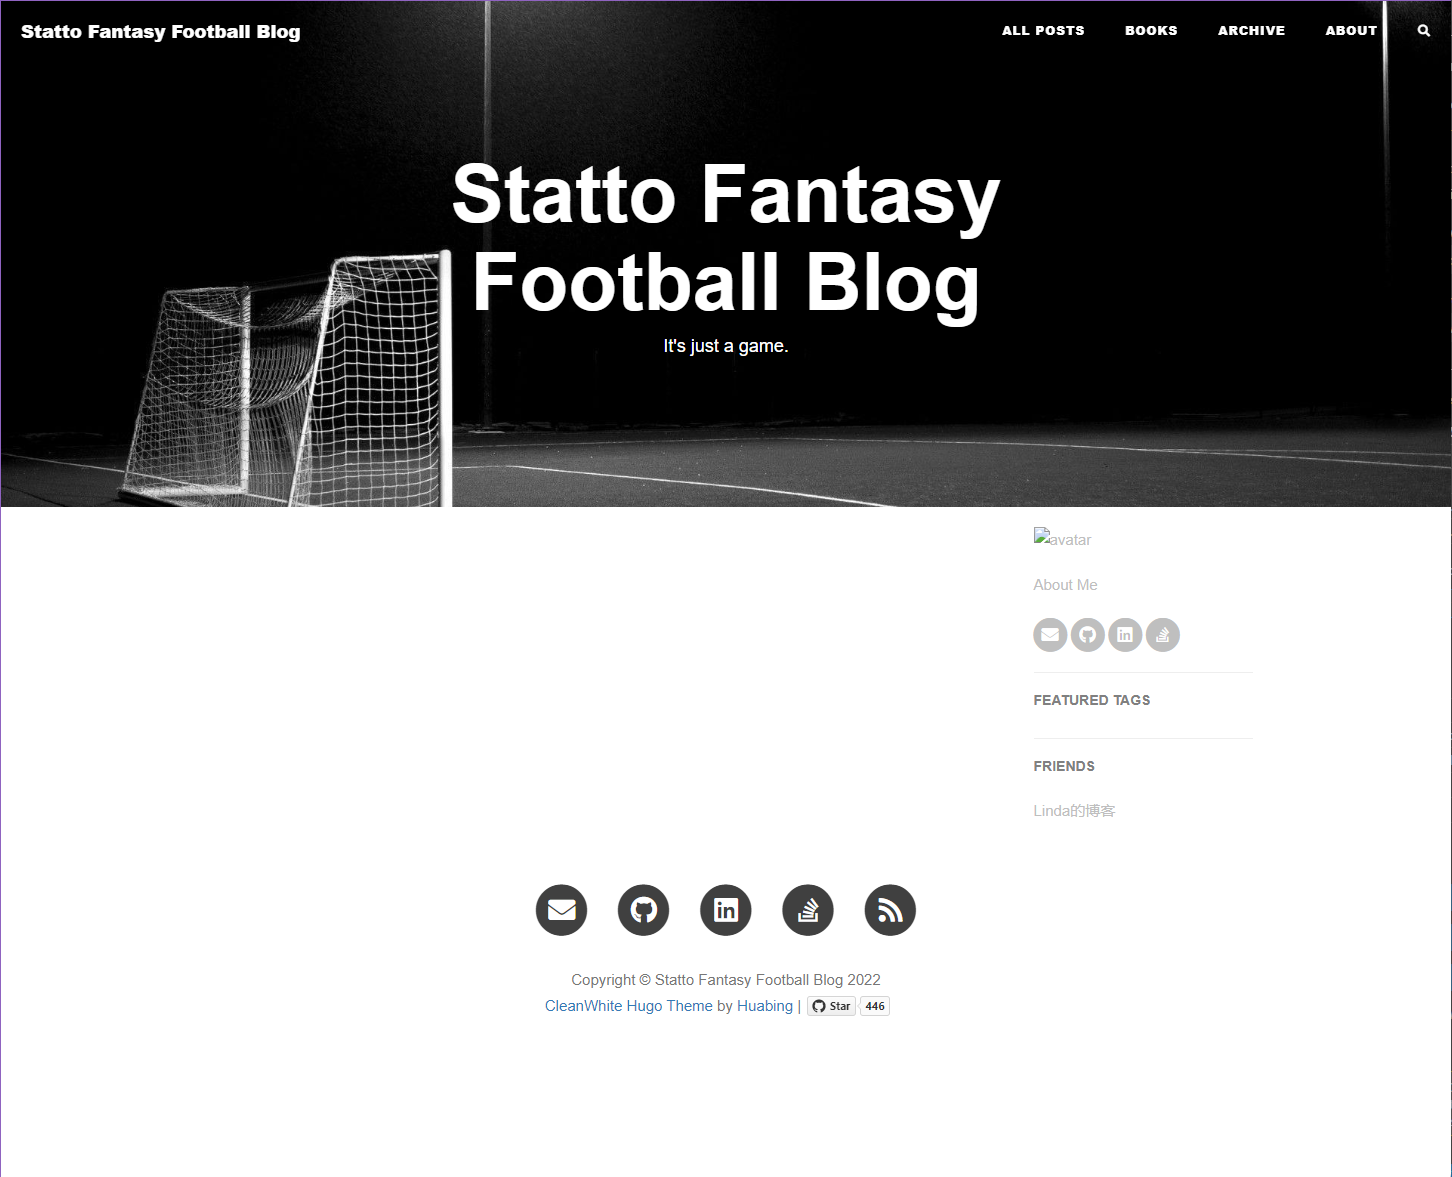
Save the file. Our site should now look like this:
Step 9 - Create the About Me and Archive pages.
If you haven’t done so already install the VS Code extension Frontmatter, it’s a headless CMS (static website) content manager and is by far my favorite extension.
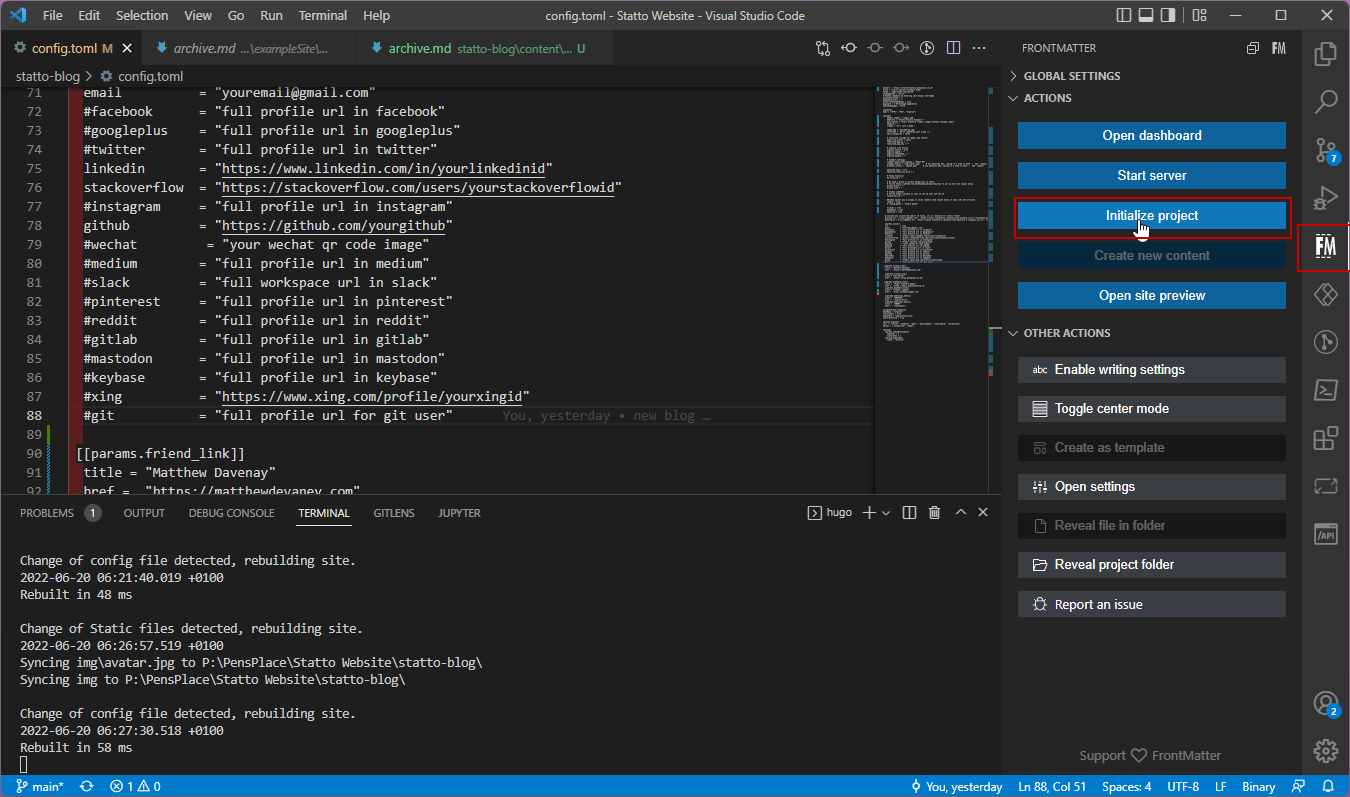
Once installed, click on the Fronmatter Icon on the rail, and click Initialise Project
Next click on the Open Dashboard Link.
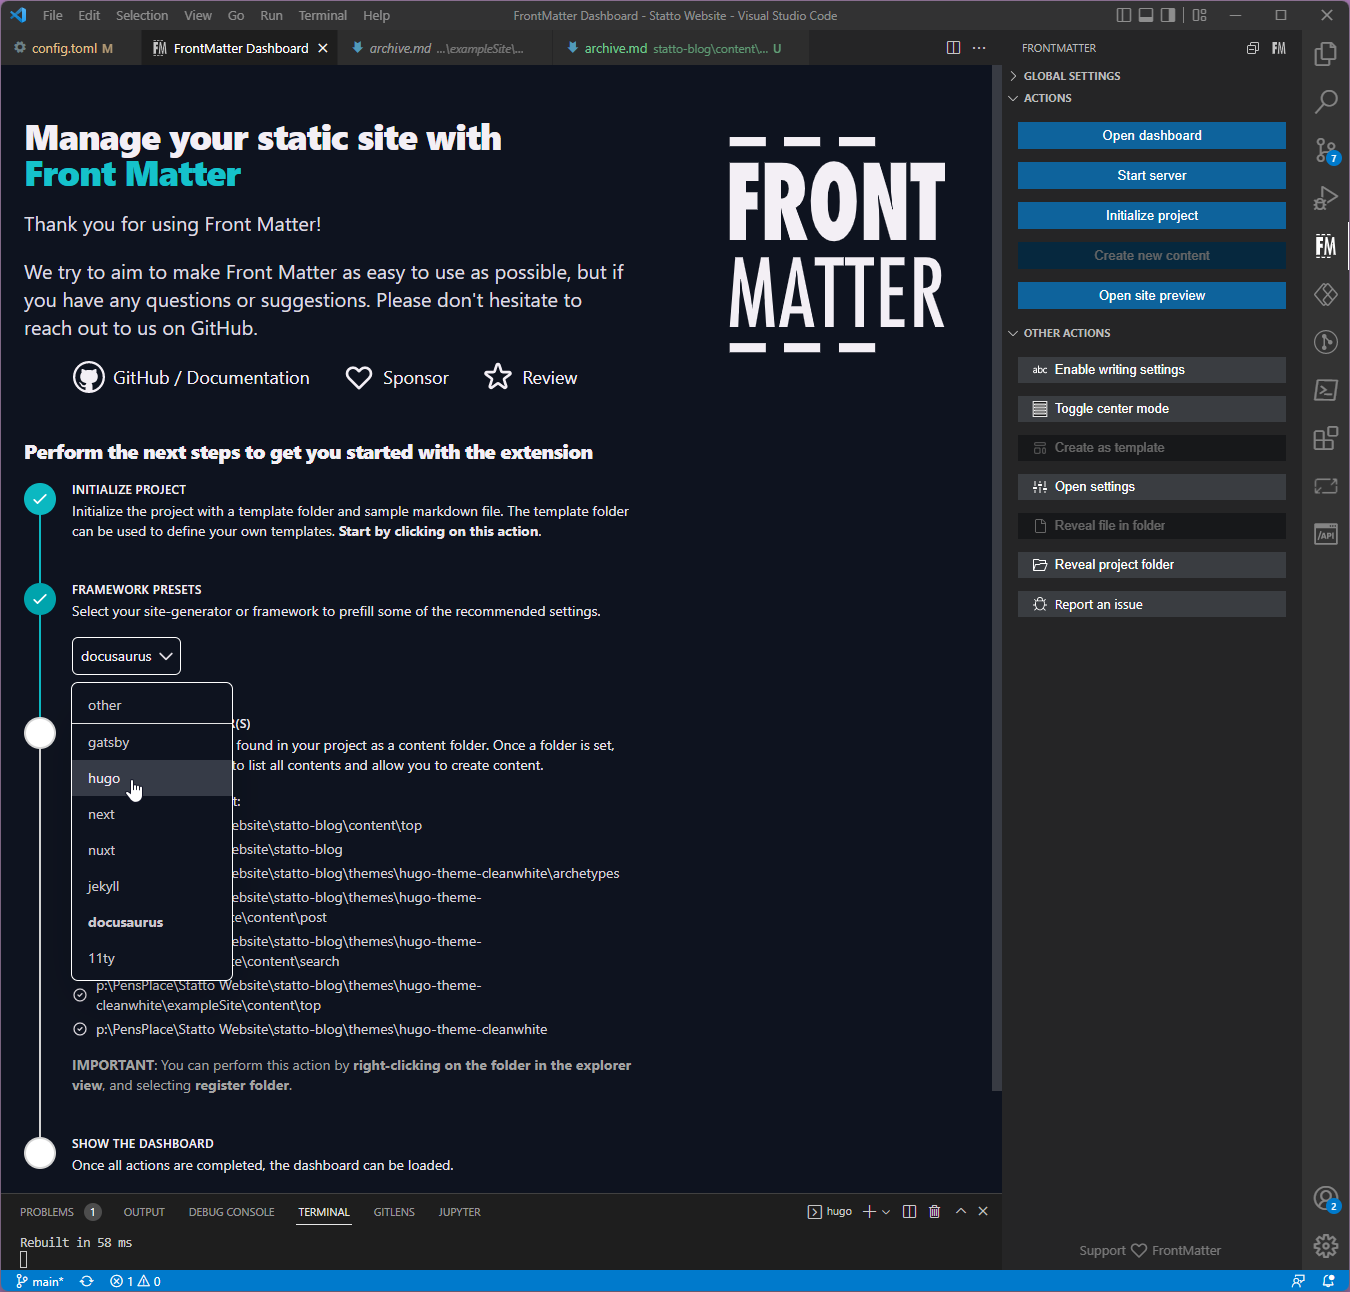
Under Framework Presets select Hugo
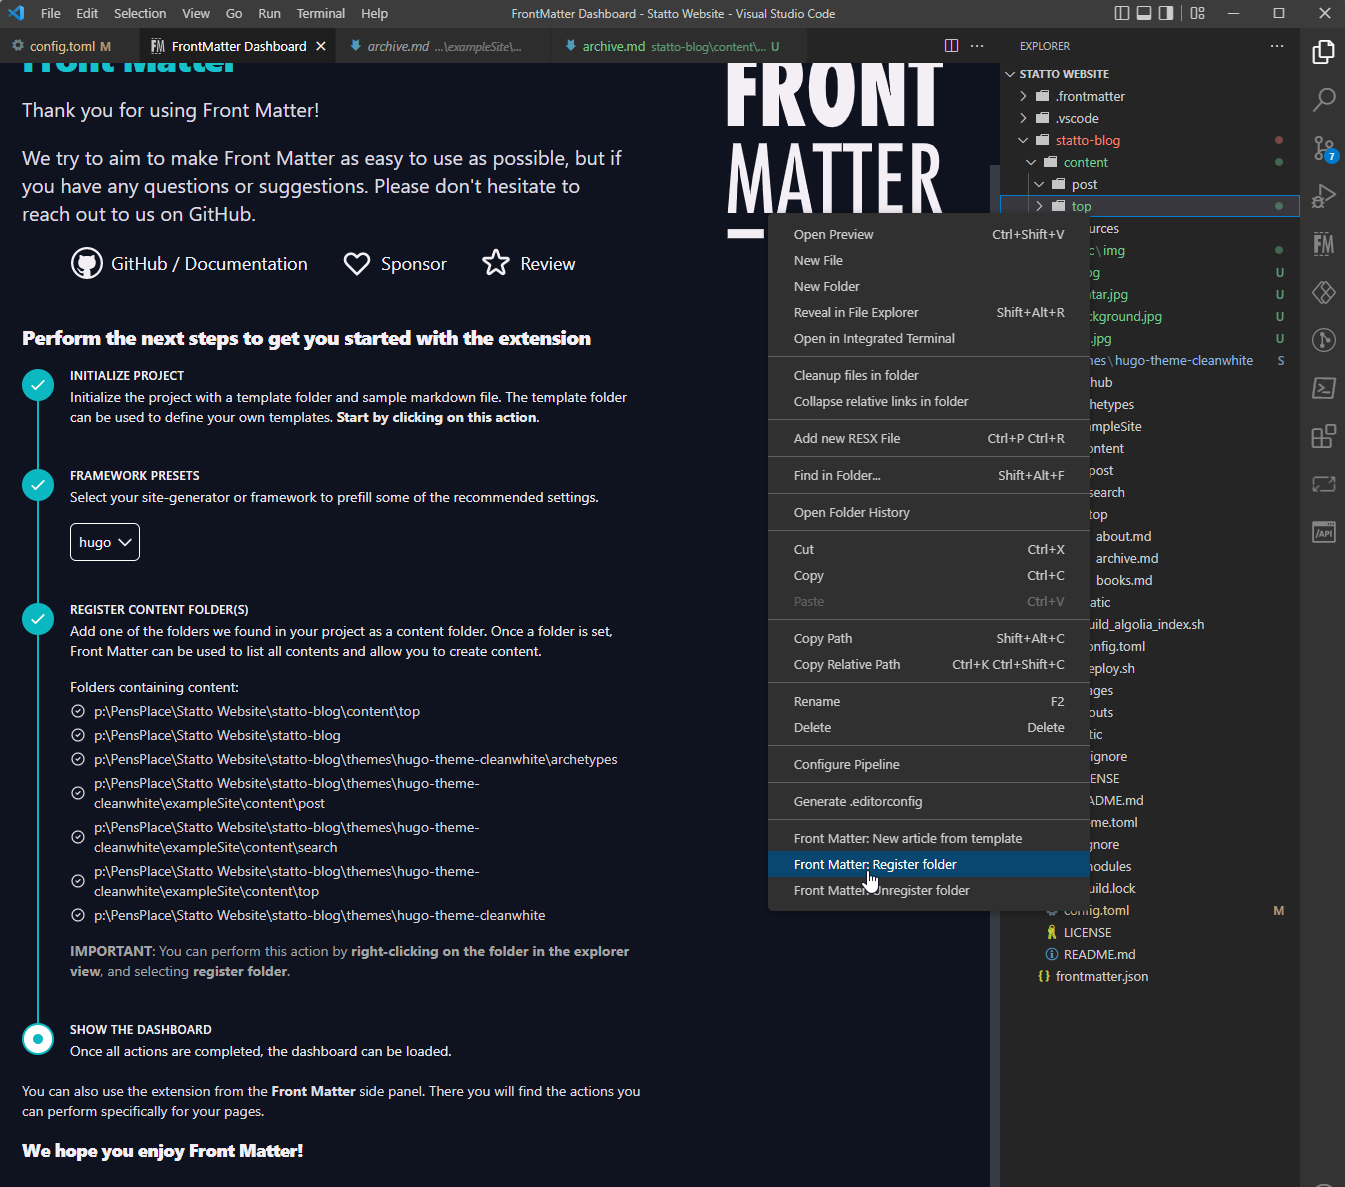
Next we will add folders content/top and content/post as our content folders, click bback to the file list.
Now click on Open Dashboard

Click on Create Content and select top
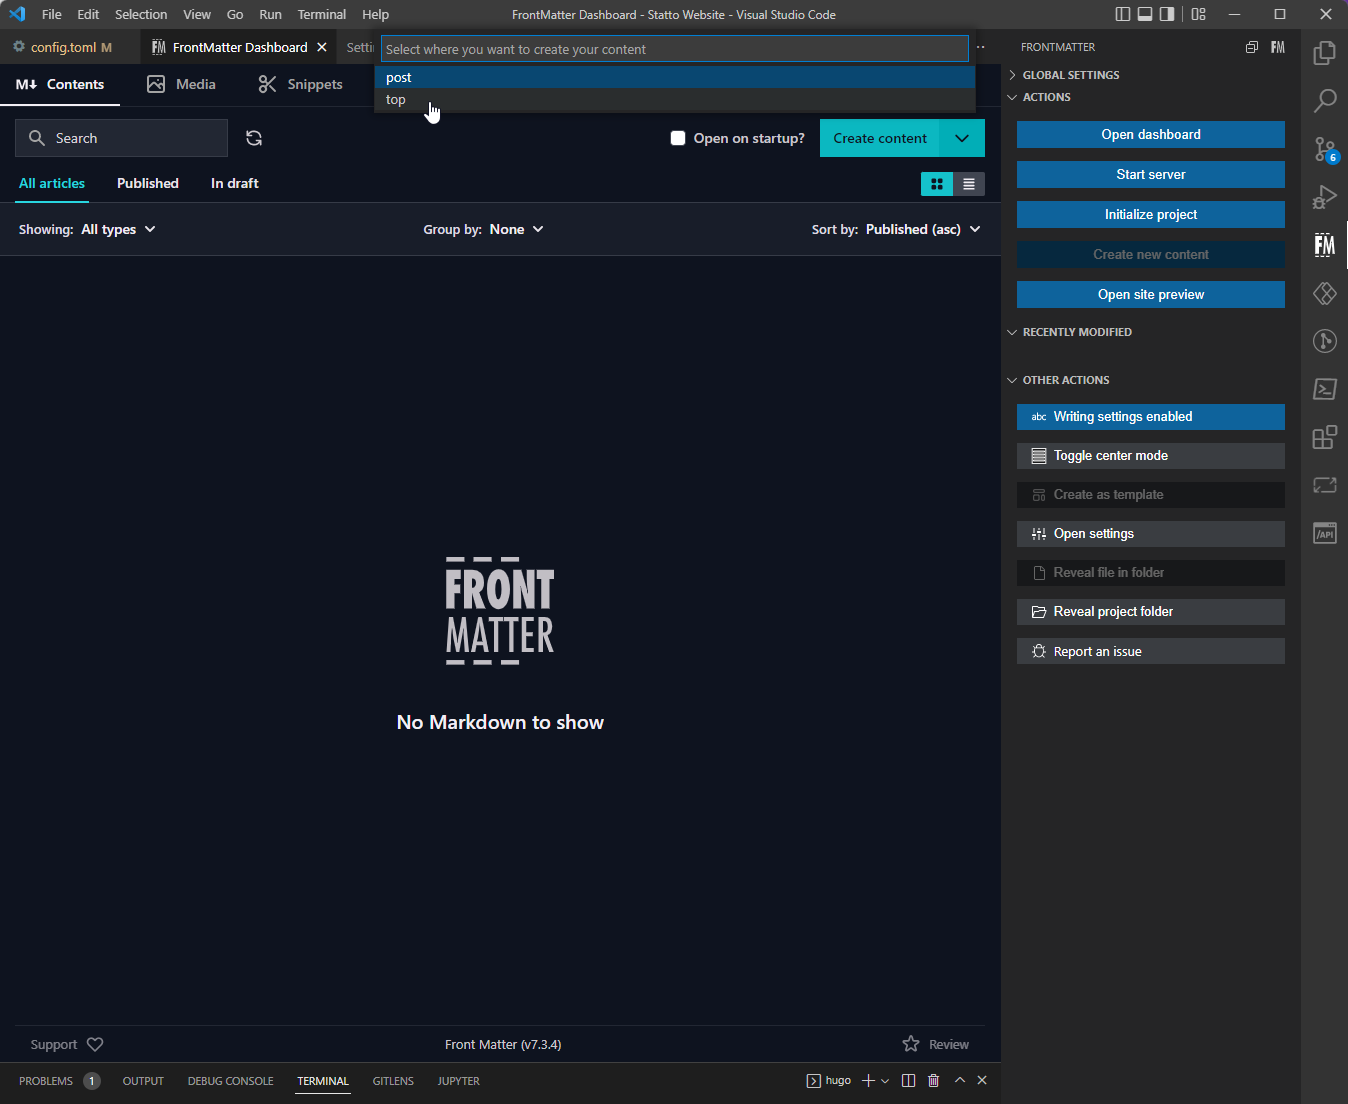
Name the file archive and click enter.
 This will create our file with the following content.
---
title: archive
description: ""
date: 2022-06-20T05:58:07.833Z
preview: ""
draft: ""
tags: ""
categories: ""
---
Replace with the following, these headers will automatically create the posts archive display, nothing else needs to be added to this file.
---
title: "Posts Archive"
layout: archive
type: archive
description: Archive of historical posts.
---
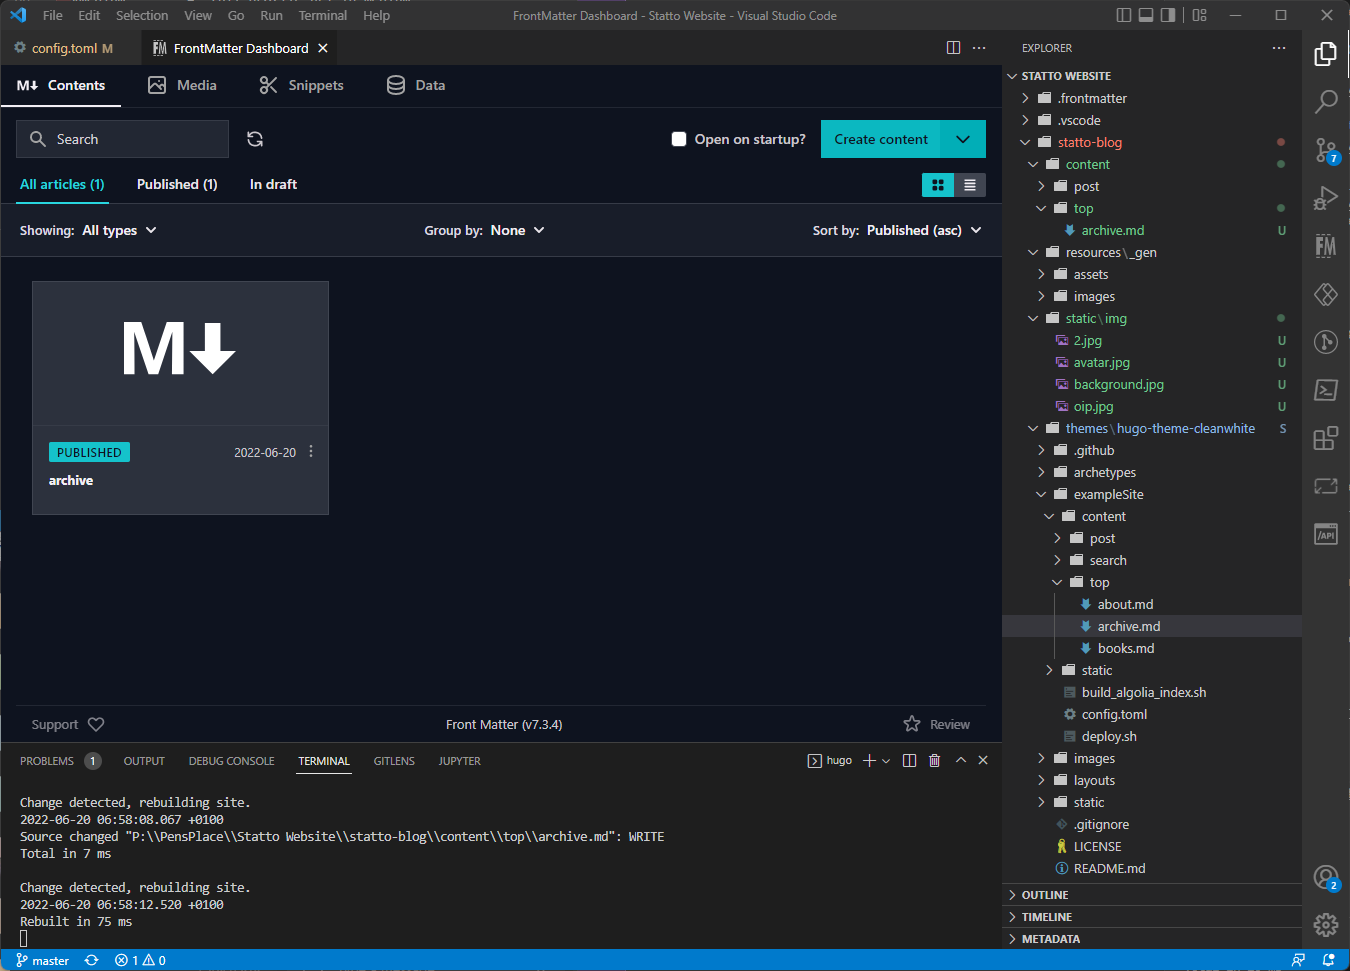
Save the file and close the file.
The Frontmatter dashboard will now show our new file.
Click on Create Content and select top
Name the file about and click enter.
Now we can create our About Me page.
---
title: About Me
description: "This page is all about me."
date: 2022-06-20T06:09:15.536Z
image: "/img/about-me-header.jpg"
draft: ""
tags:
    - Blog
    - About Me
categories:
    - Blog
---

## About Me

Add some more content here in __Markdown__
Click save, now if we navigate to the About Me top link it will show our page.
Step 10 - Create the first Hello World Post.
For the final step in this post we will create our first post.
In the Frontmatter dashboard click on Create Content, but this time choose post as the location.
Name the post Hello World.
Update the content of the file to:
---
title: Hello World
description: This is our first hello world post.
date: 2022-06-20T06:35:42.348Z
preview: ""
draft: false
tags:
    - Hello World
    - First Post
categories:
    - Blog
---

## Hello world and welcome to my blog

Hope you enjoy your visit.
Save the file and commit the changes to the repository.
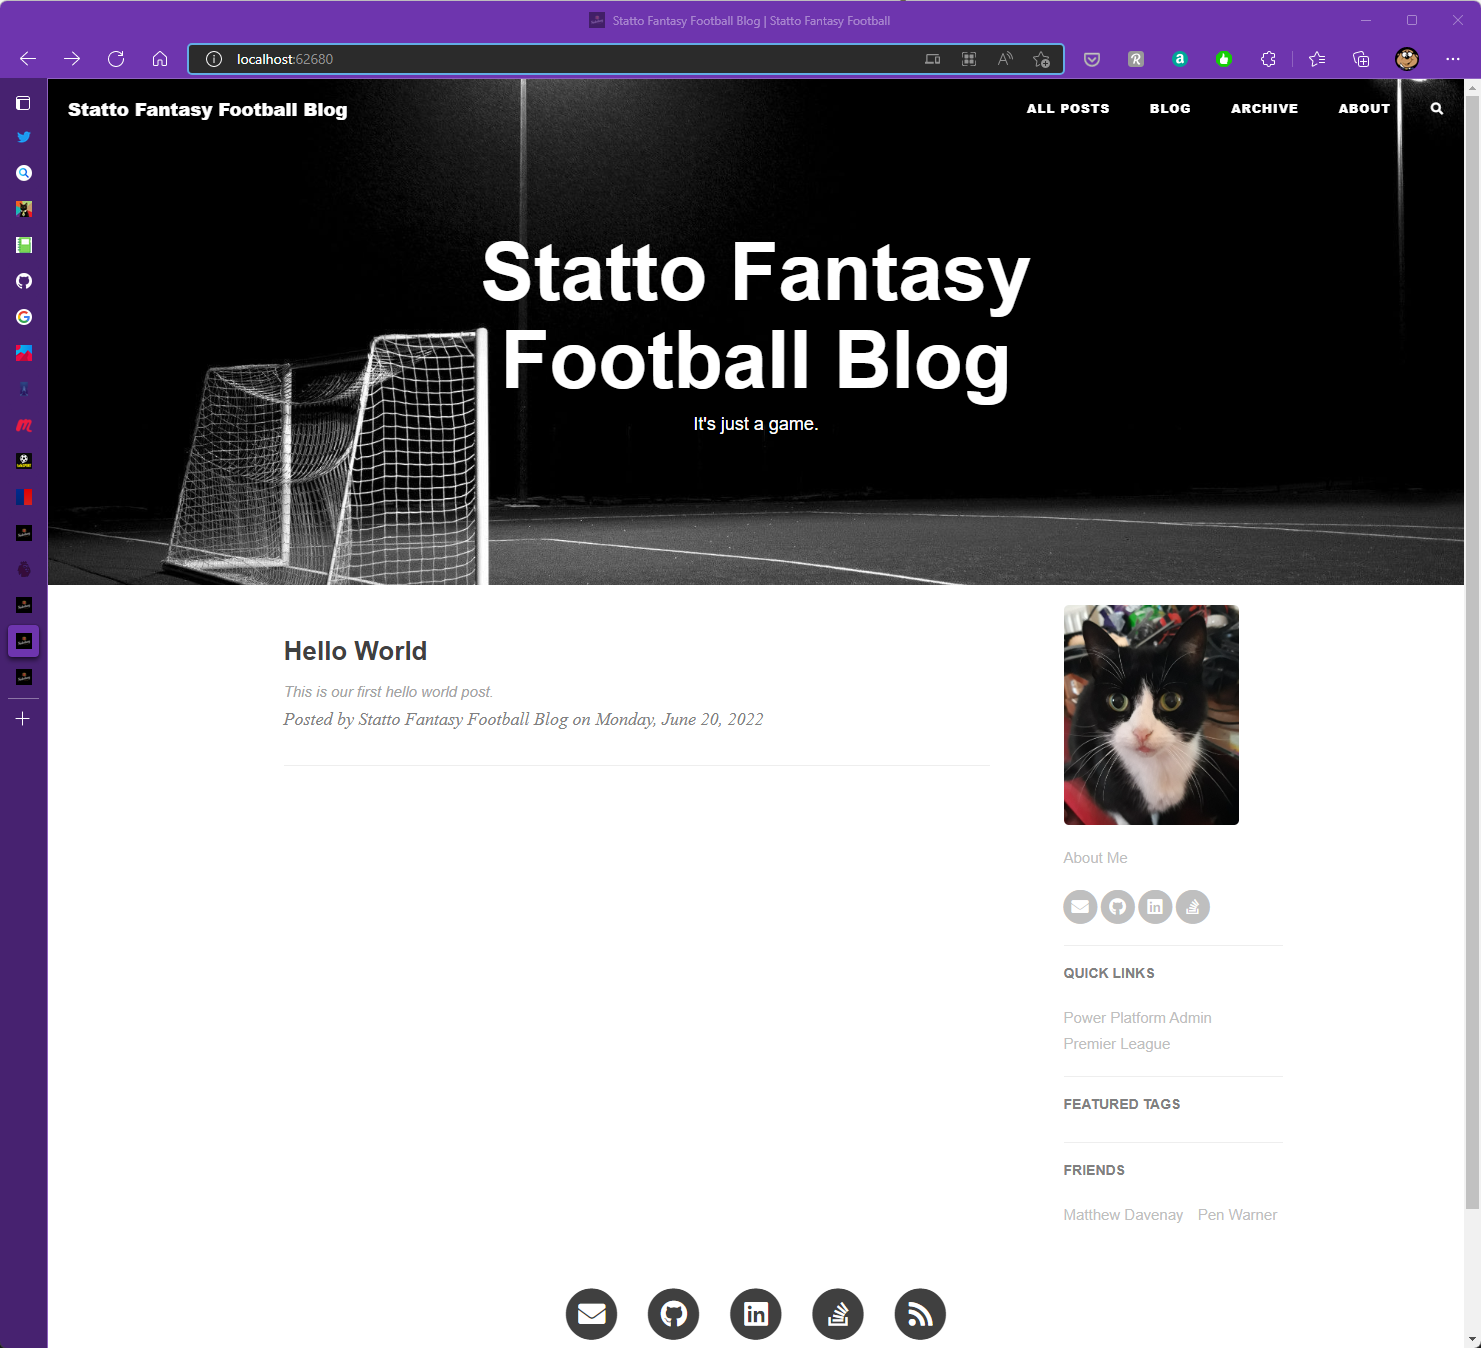
Now our finished basic site should look like this:
Home Page
About Page
Archive Page

That’s it for this time, next up we will create the Azure Static Website and publish to the web…
comments powered by Disqus
If you liked this post and would like to read more of my posts.
Subscribe