This post in the second of the series where I run through the process I used to create this blog and host if for free, using VS Code, Hugo, Github and Azure Static Websites.


-
Part 1 - Create a Github repository and create a local Hugo web site.
-
Part 2 - Configure the Hugo website,
- the config,
- creating content and pages,
- configure google analytics,
- configure Disqus for comments,
-
Part 3 - Setup Azure Static Website and publish site, (This Post)
-
Part 4 - Configure more advanced Hugo configuration, Coming soon…
- configure mermaid for diagramming,
- configure Algolia for search,
- configure and create partials
- modify social links,
What you will need:
- Azure Subscription
- A resource group to create our site in.
Step 1 - Create Azure resource.
This post assumes the reader has an Azure Subscription and have created a Resource Group, if you don’t have one, sign up for free.
Logon to the Azure portal, and click on Create a resource.
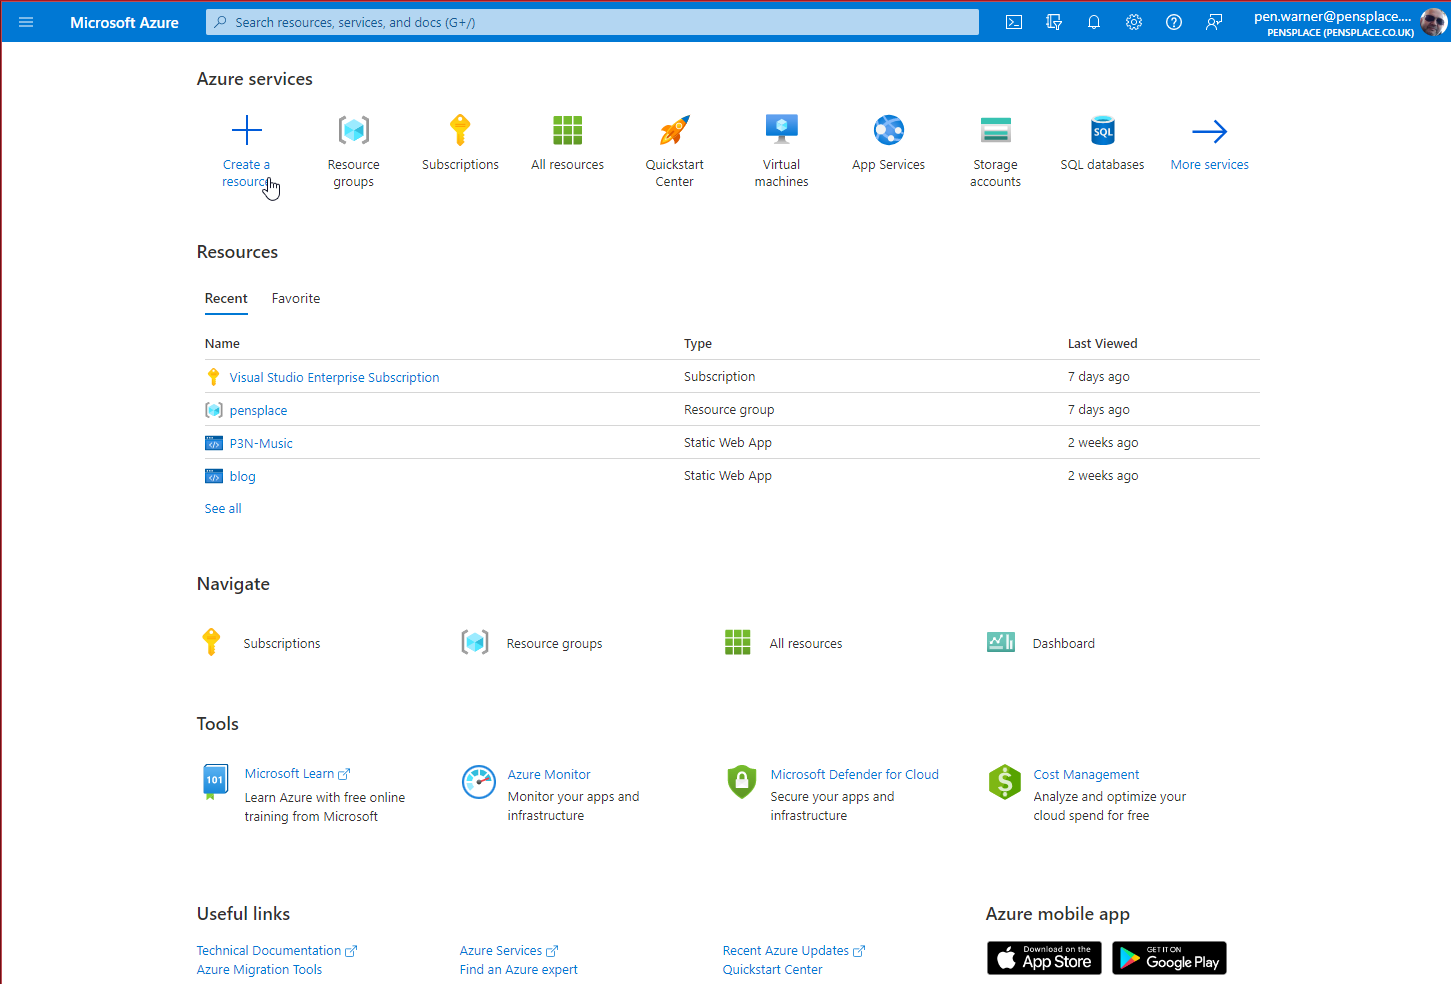
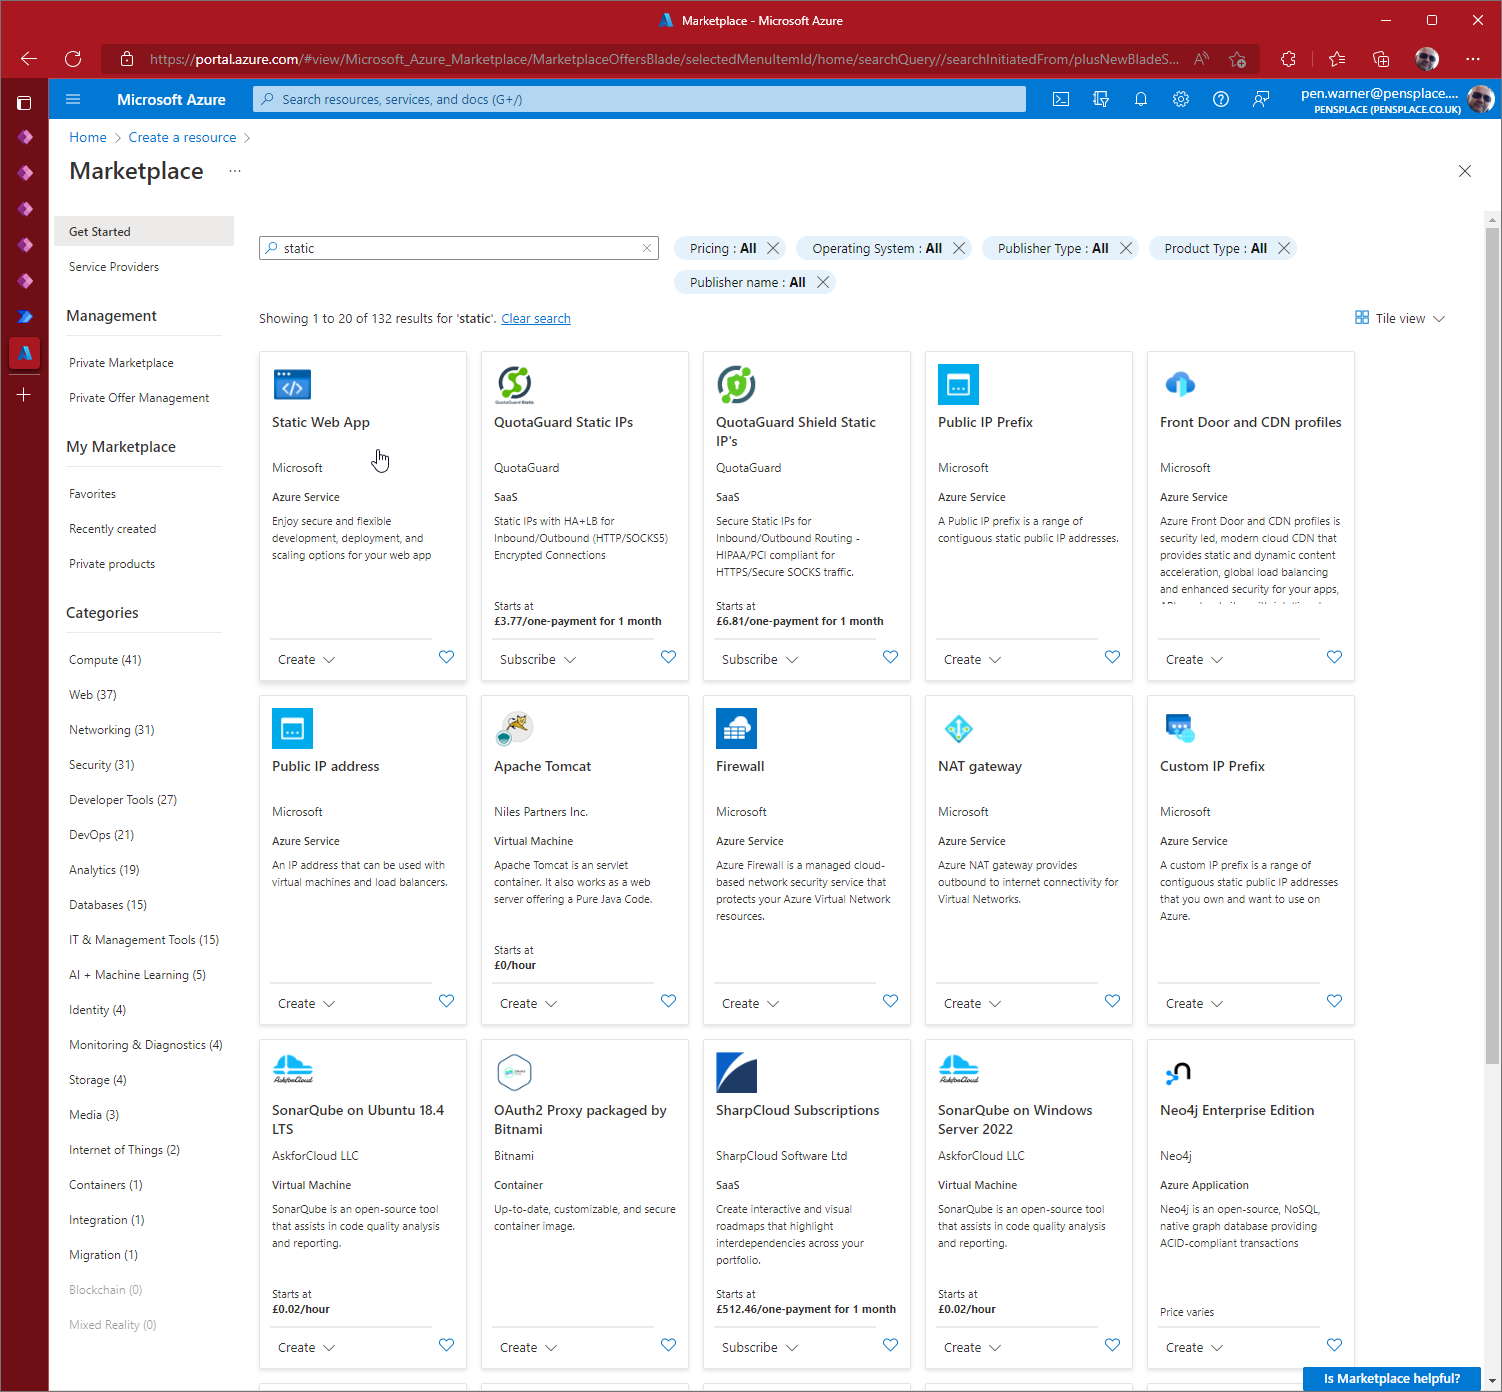
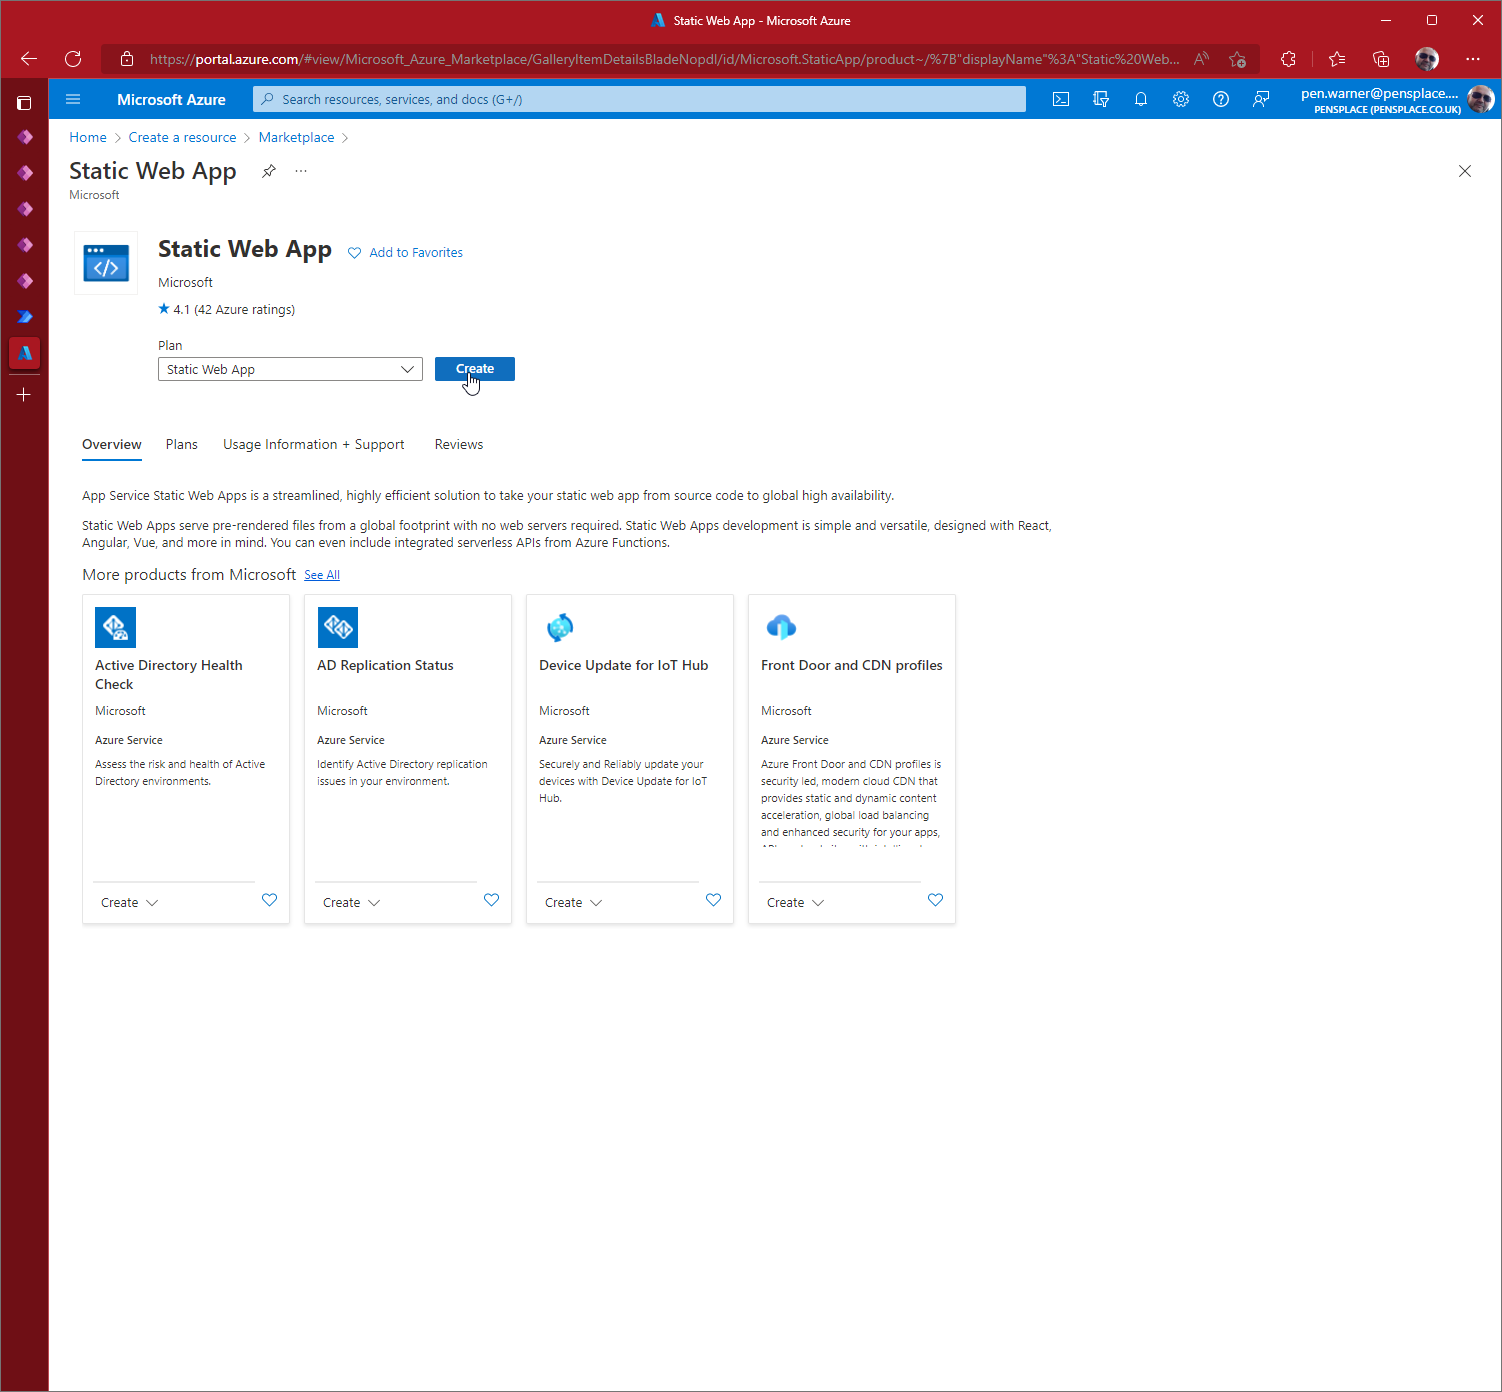
Search for static, and select Static Web App
The subscription should be automatically completed, change this if your using a different one, and select the Resource Group.
Enter the name of the site, and under Azure Functions and staging select the Azure region you want.
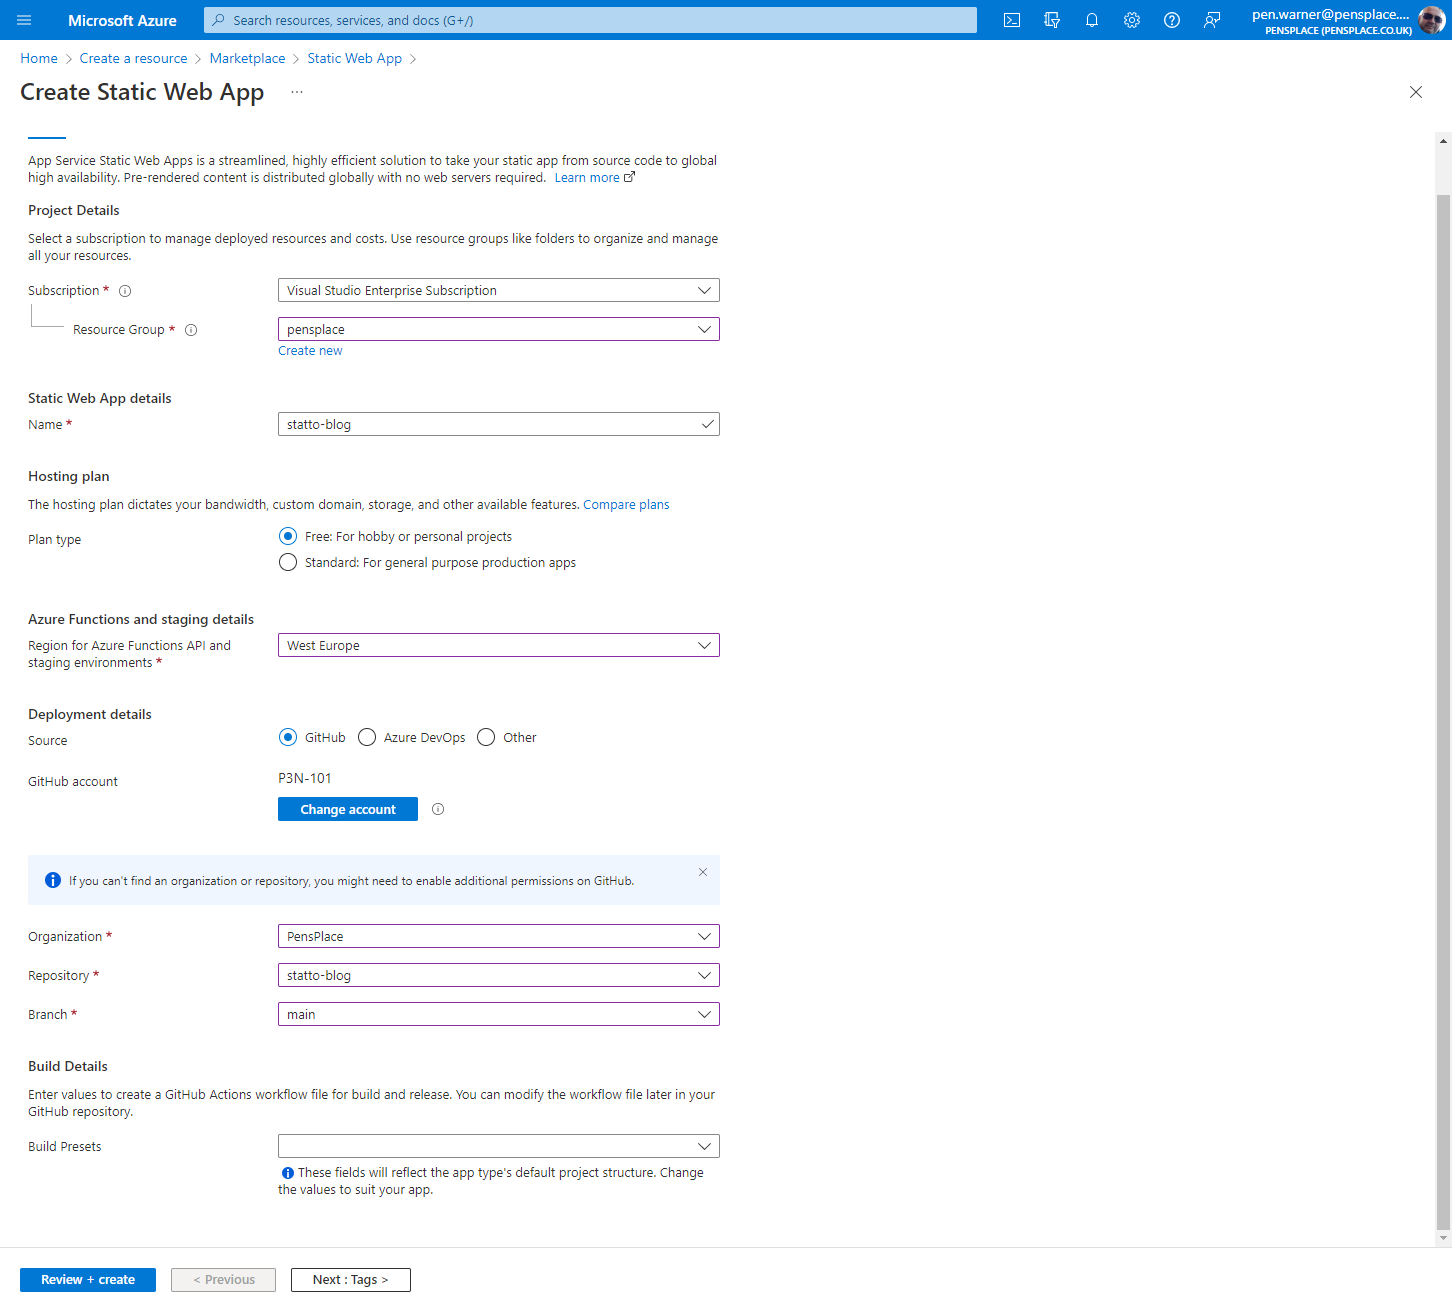
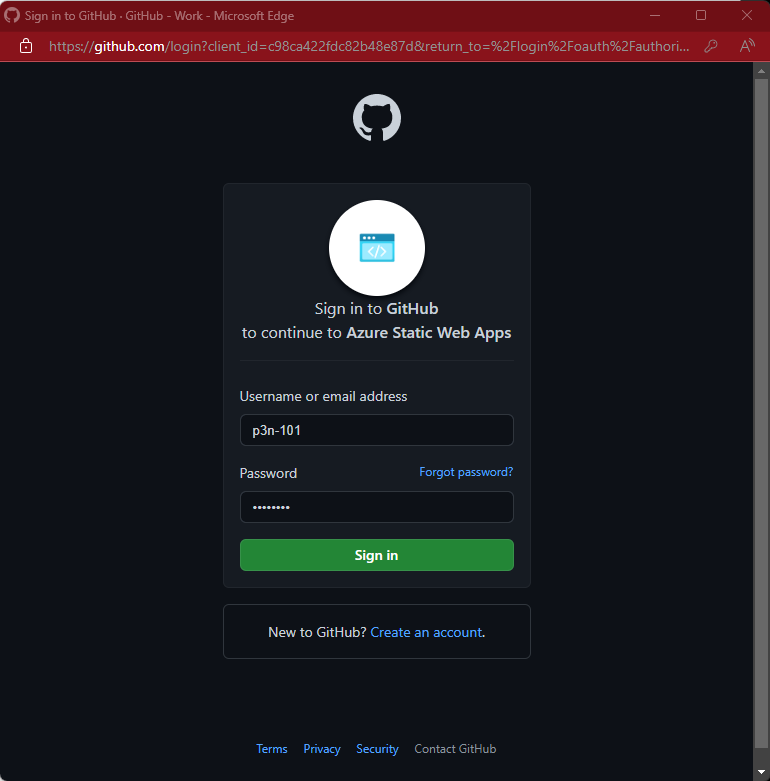
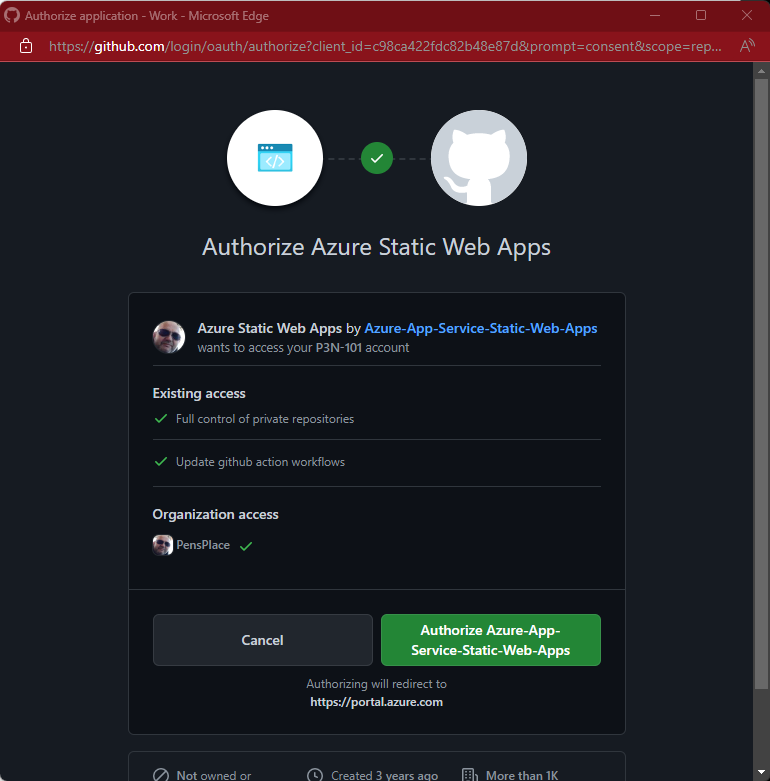
Under deployment details select GitHub and Sign in and authorise azure pipelines to have access to the repository.
Sign in to your Github account that has the
Once logged in configure the Organization, Repository and and select main branch. Now click Review + Create
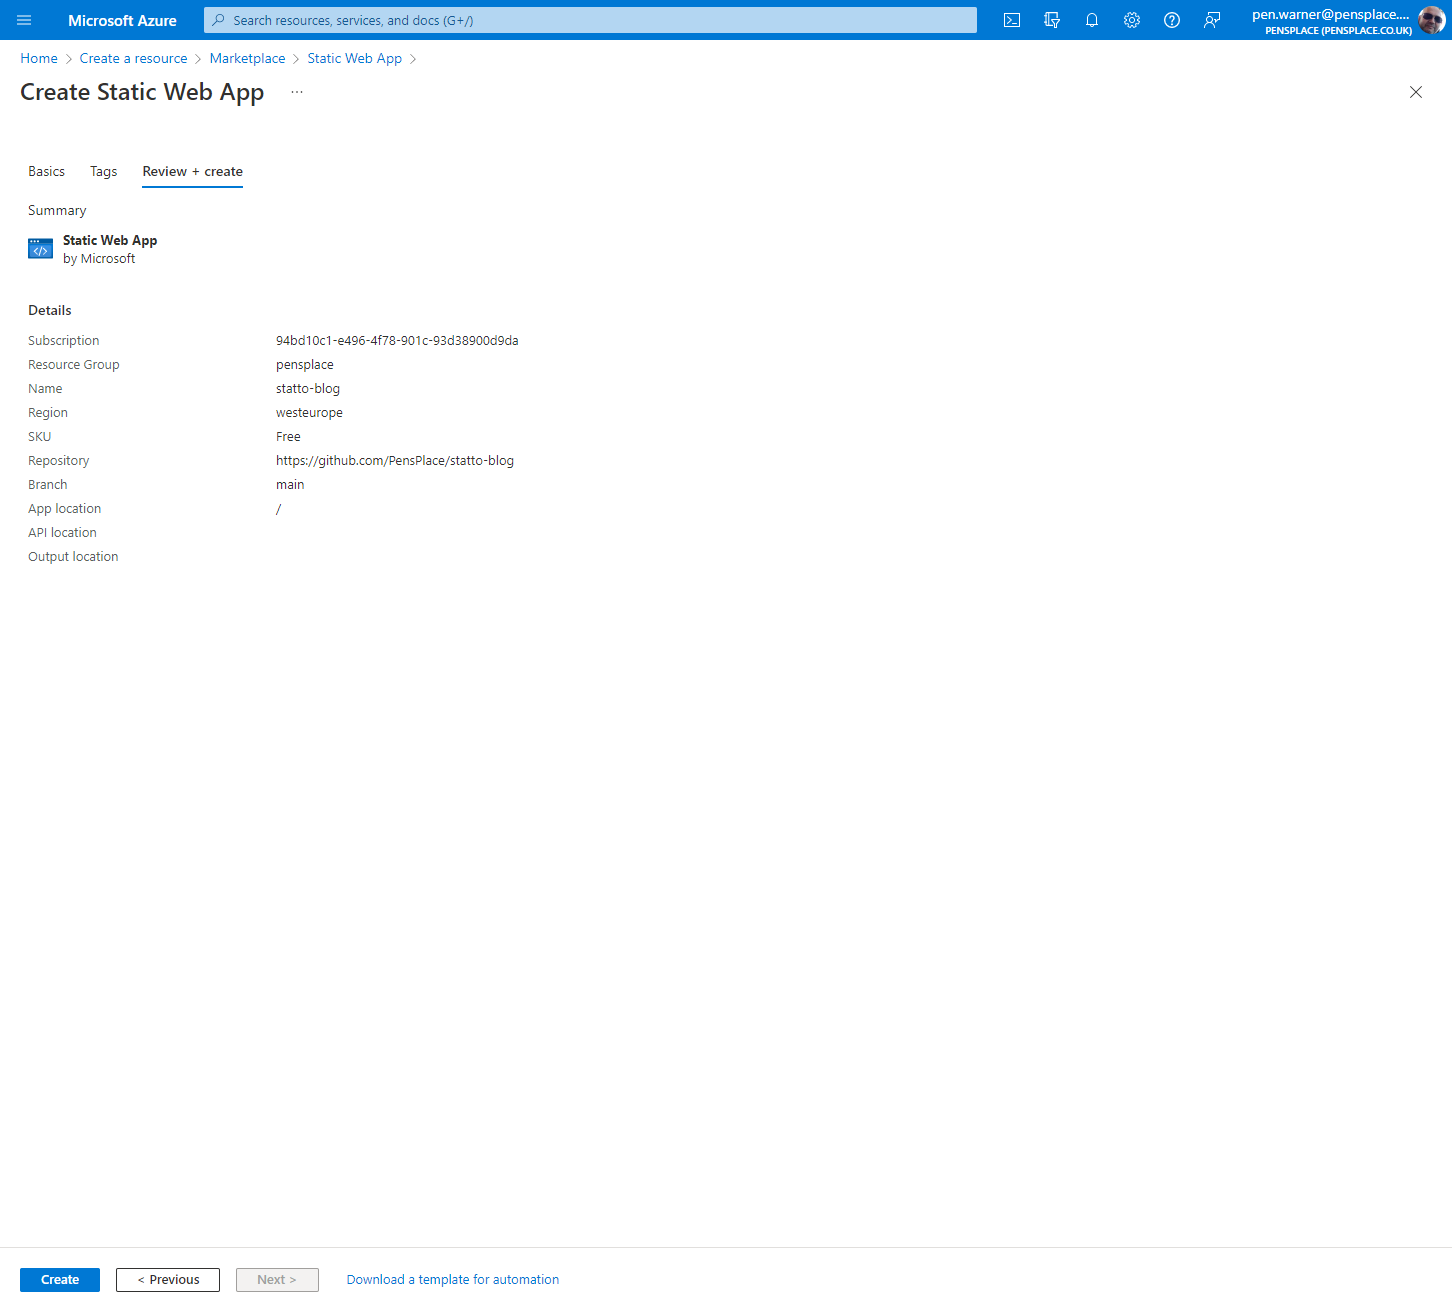
Click Create.
Once the resource is created Open the GitHub repository and click on Actions.
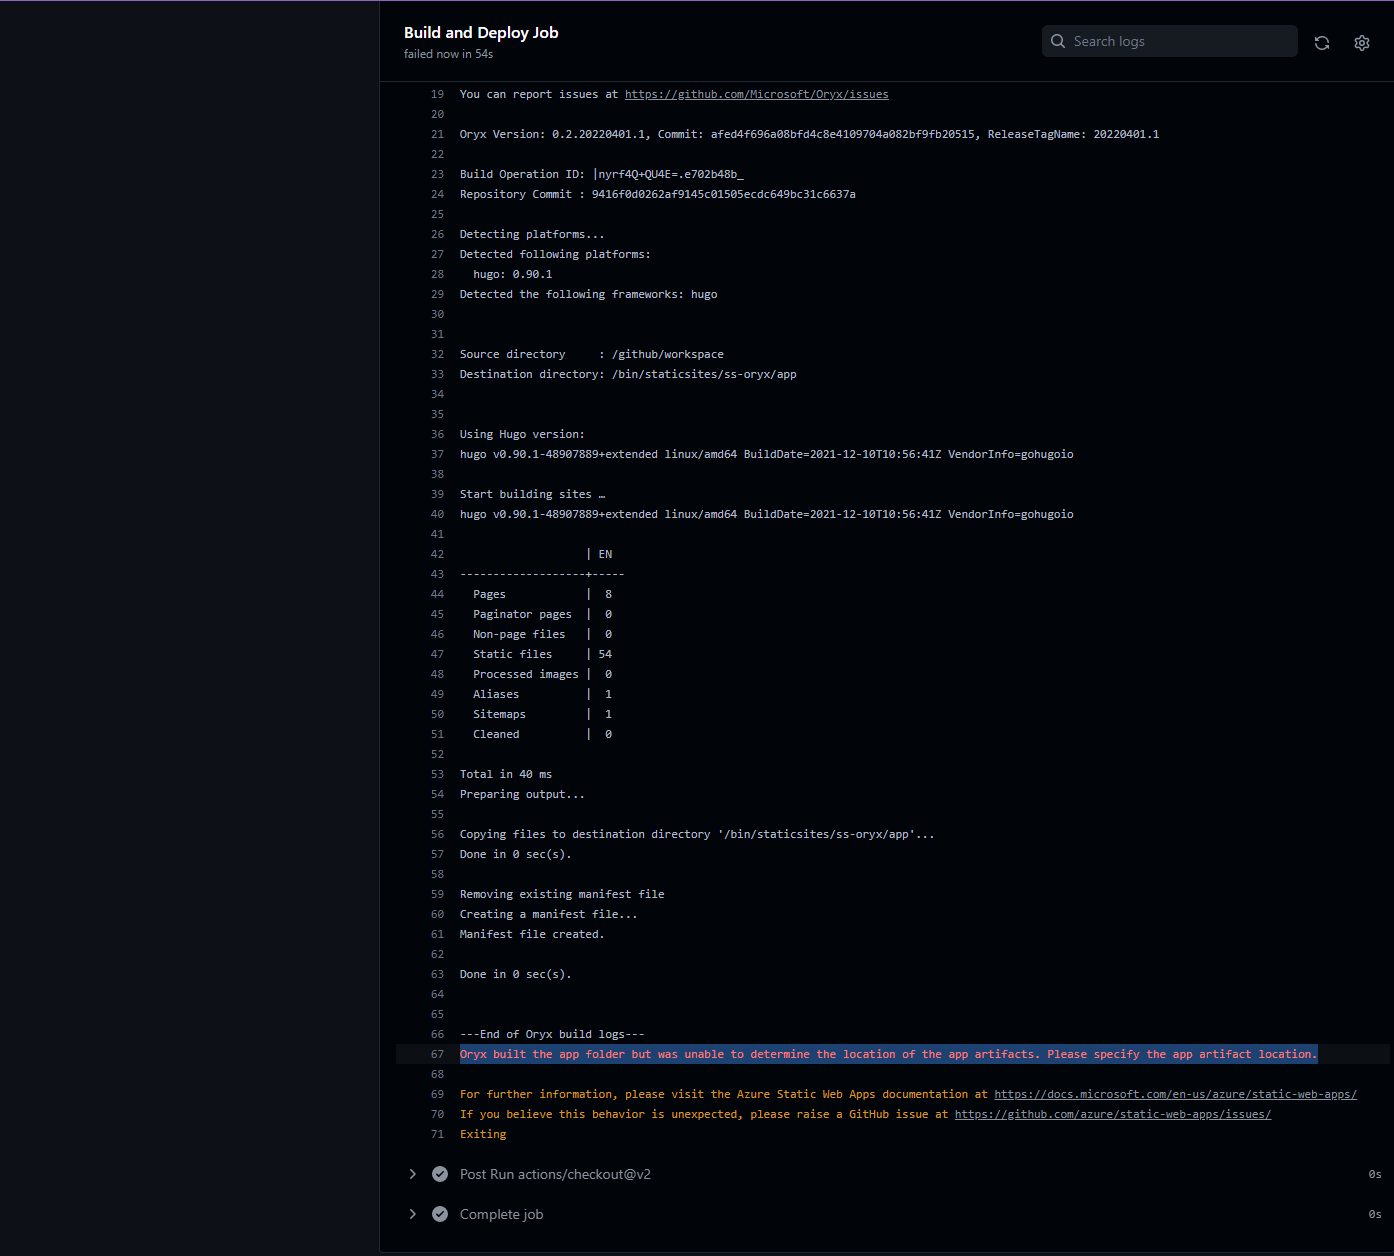
You will see the pipeline running.
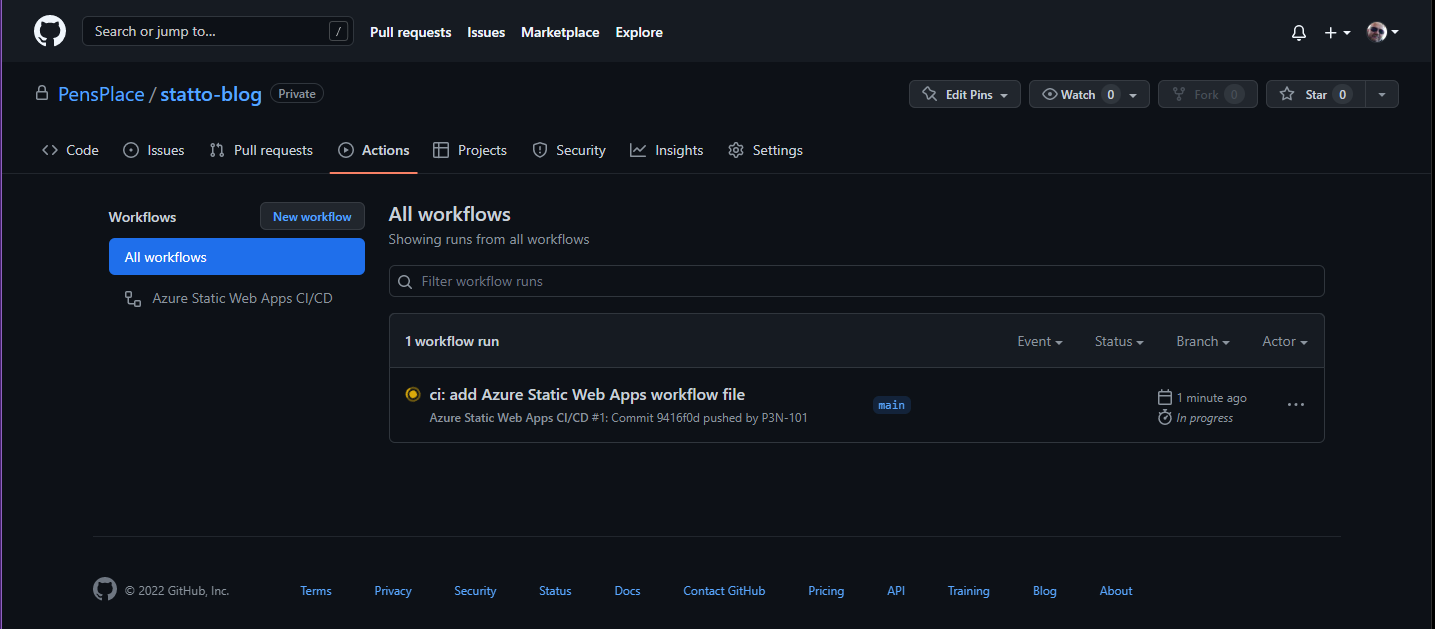
It will fail… Not worry about it we will fix it next in VS Code.
Step 2 - Fix the deployment pipeline.
The initial run of pipeline will fail, everytime I have created a site this happens, took me a while to figure out the issue, but its simple to fix.
 Open your blog folder in VS Code, select the Source Control icon on the rail, click on the elipsis next to your blog and select Pull.
This will download the pipeline file that Azure has created.
Once completed you will see a new file under .github\workflows named azure-static-web-apps-(your azure random name and id).yml. Open this file
and change the line
output_location = ""
to
output_location' = "public"
Save the file and commit the change to the repository.
Now if we go back to GitHub and click on actions you will see that the commit we just made has triggered the pipeline…
Everytime you now commit changes to your repository they will automatically run the pipeline and publish your changes.
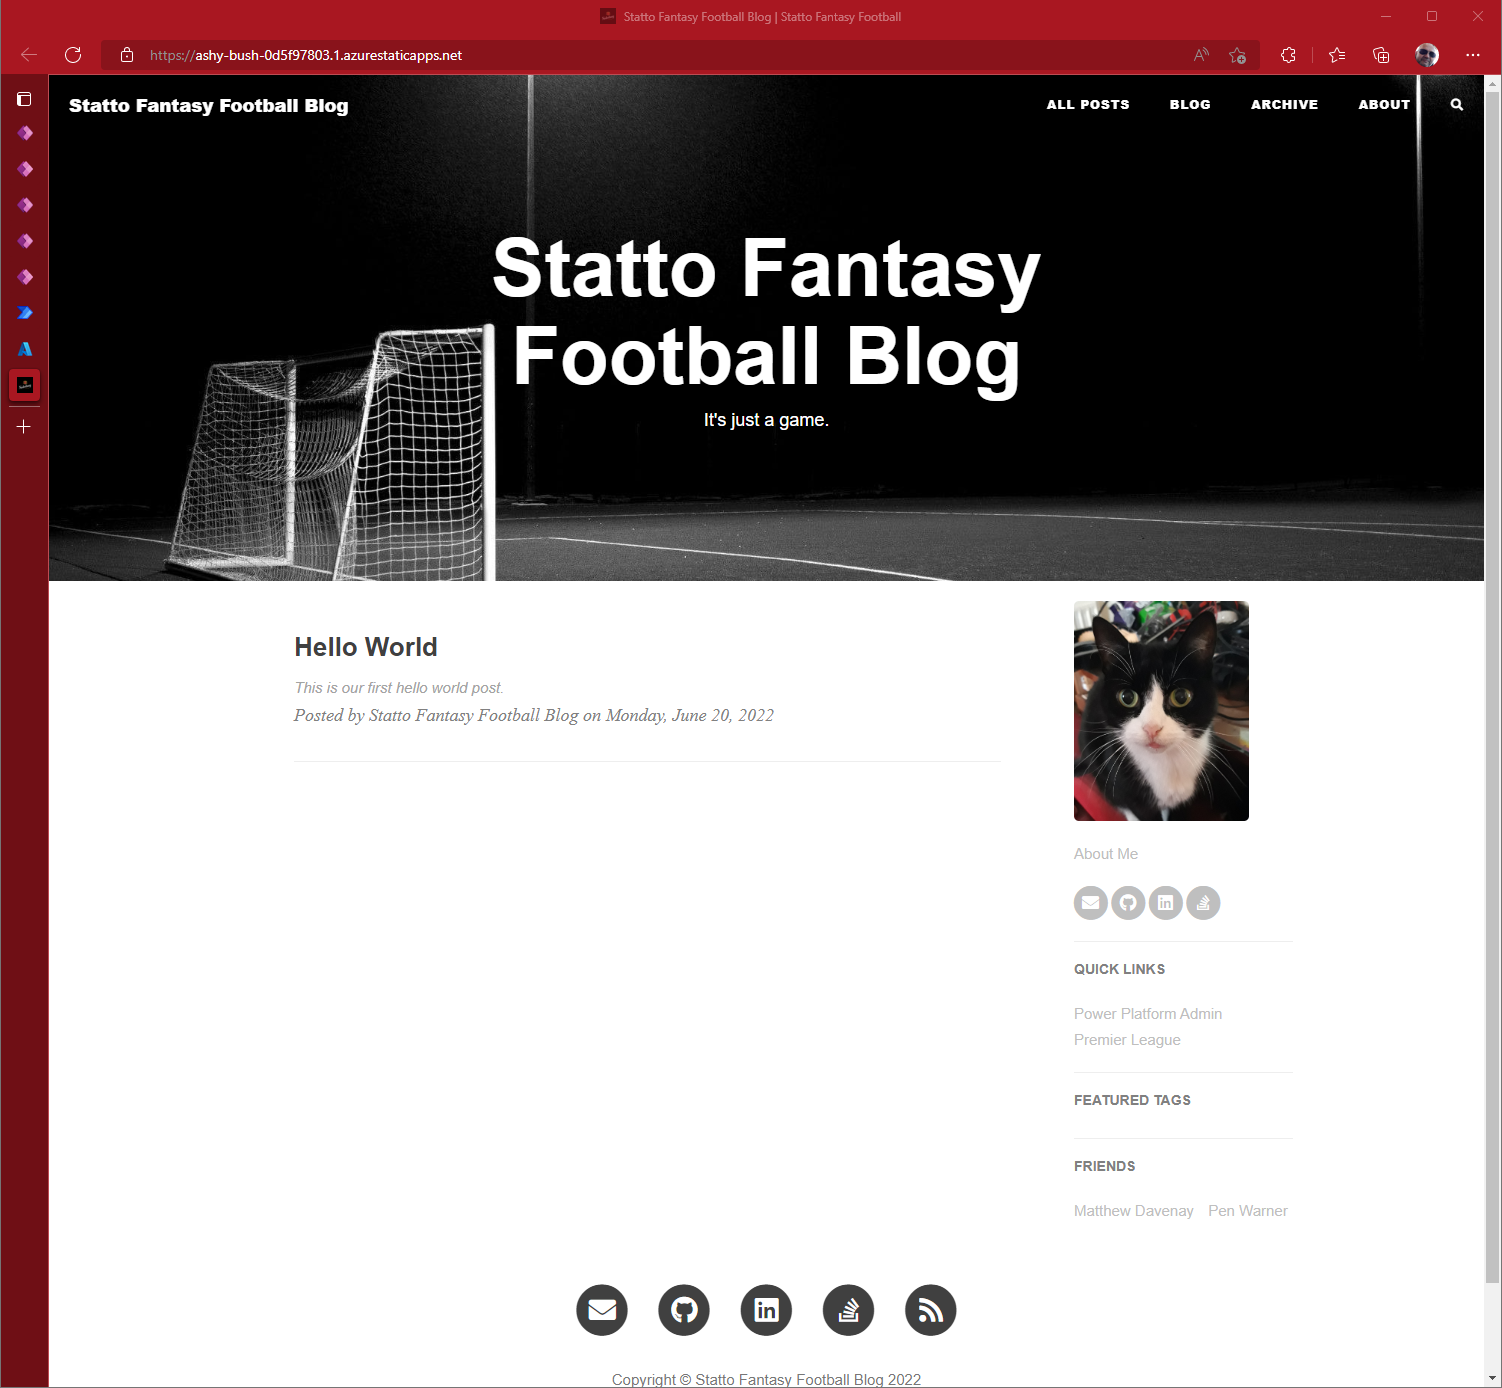
You will see that this pipeline completes successfully and you can access via the internet the site we have created.
You can see the demo site we built in this series
https://ashy-bush-0d5f97803.1.azurestaticapps.net/
And the site will look exactly the same as it did when running it locally, and the good thing is SSL is provided for your site free of charge. In the next post will we add a custom domain!
In the next
comments powered by Disqus
If you liked this post and would like to read more of my posts.
Subscribe